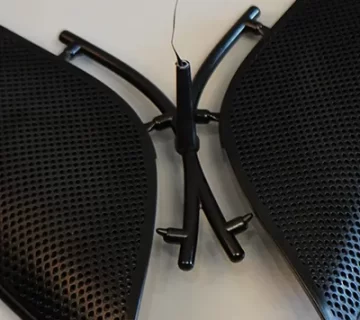


In injection molding production, have you ever encountered these issues: parts warping immediately after ejection, surfaces covered with unsightly sink marks, or production efficiency failing to improve despite extending injection mold cooling time?
The root cause of most of these problems often points to one critical factor: the mold cooling system design.
The cooling system of a mold plays a decisive role in determining production efficiency and the overall quality of molded products.
Data shows that cooling accounts for over 60% of the injection molding cycle, and uneven cooling is responsible for up to 80% of part defects. From a practical perspective, here are 7 core principles of injection mold cooling system design to help you avoid pitfalls and boost efficiency.
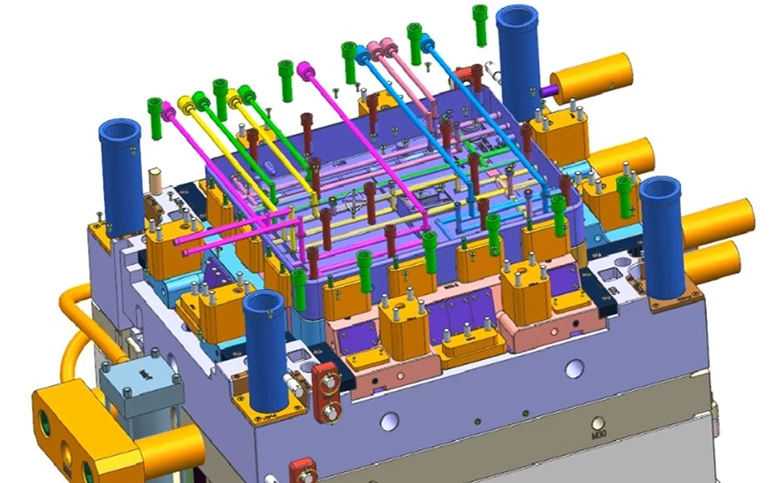
3 Core Principles of Injection Mold Cooling
Cooling system design isn’t something to improvise—it requires adherence to three foundational principles:
Uniformity is Key
Uneven cooling is the main culprit behind warping and dimensional instability. Ensure that all areas of the part cool at a consistent rate, keeping temperature differences within ±5°C. For flat parts, maintain equal spacing between cooling channels and surfaces. For ribbed or uneven-thickness parts, add extra channels or thermal barriers to prevent slow cooling in thicker areas.
Efficient Heat Transfer Matters
Cooling is essentially about rapidly removing heat, which requires:
- Short heat transfer paths: Distance from the cooling channel to the part surface should ideally be ≤15mm.
- Turbulent flow: Cooling water must be turbulent (Reynolds number Re>4000). Laminar flow reduces heat transfer efficiency by over 50%.
Adaptability is Crucial
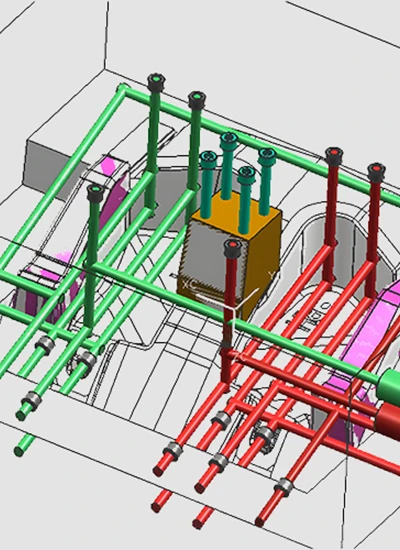
Cooling channels must not interfere with key mold structures like gates, ejector pins, slides, or core inserts. For deep parts, consider “well-type” channels. For complex surfaces, conformal cooling channels are needed to match the contours.
Cooling Channel Layout: Follow the Part Geometry
The layout forms the “skeleton” of the cooling system. Selecting the right type solves half the problem. Common layouts include:
| Layout Type | Suitable Part | Design Tips |
|---|---|---|
| Straight channels | Flat or shallow box-like parts | Channel spacing ≤3×diameter; surface distance 1.5–2×diameter |
| Well-type channels | Deep cavity parts (>2×diameter depth) | Channel tip 3–5mm from bottom; avoid dead zones |
| Conformal channels | Complex or curved parts | Smooth curvature transitions; avoid sudden diameter changes |
| Branch channels | Multi-cavity or complex-feature parts | Keep branch diameters consistent to ensure even flow |
Case Example: For automotive door handles (complex curved parts), straight channels initially caused warping of 0.8mm. Switching to 3D-printed conformal channels reduced warping to 0.2mm, fully meeting specifications.
- Key Parameters
Many engineers design channels by “feel,” resulting in low efficiency. Consider these critical parameters:
Channel Diameter (d):
- Small parts: 6–8mm
- Large parts: 10–12mm
Channel Spacing (S) & Surface Distance (H):
- S = 3–5×d (thicker sections: 2–3×d)
- H = 1.5–2.5×d (too small → surface sink; too large → slow cooling)
Cooling Time (t):
- Add a 10–20% buffer to theoretical time to prevent post-ejection deformation.
- Water Inlet/Outlet Design: Avoid Two Common Pitfalls
- Prefer parallel flow over series: Series connections heat water as it progresses, causing uneven cooling. Parallel channels ensure uniform temperature.
- Align inlet to hotspots: Place inlets near thick walls and gates; outlets in cooler areas. Add vent plugs at high points to prevent air pockets and localized sink marks.
- Special Scenarios
Thick-walled parts (>10mm): Use central cooling pins, spiral channels, or pulsed cooling to improve heat removal.
Small precision parts: Use fine 4–6mm channels, maintain ≥3mm distance from ejector pins.
Slides/inserts: Use rotary joints for moving slides; for tight inserts, use fine channels or heat pipes for efficient cooling.
- Cooling Medium and Temperature Control
- Medium: Clean water (hardness ≤100 mg/L); for low temperatures (<15°C), add 20–30% glycol; for high temperatures (>60°C), use hot water circulation.
- Temperature Control: Maintain ±1°C with PID controllers; mold temperature typically 5–10°C higher than water to prevent condensation.
- Design Verification: Simulation + Trial Molding
- CAE Simulation: Use Moldflow or similar software to check temperature distribution, hotspots, cooling time, and warpage.
- Trial Molding: Observe defects; adjust channel density, diameters, or flow to correct sink marks and warpage. Flow deviations should be ≤10%.
Core Logic of Cooling System Design
The principle is simple: center the design around the part and rely on data:
- Follow the 3 fundamental principles to avoid basic errors.
- Choose channel layout based on part geometry.
- Apply special solutions for complex scenarios and verify with simulation and trial molding.
Mastering these steps can not only solve warping and sink mark issues but also reduce cooling time by 20–30%, significantly improving production efficiency.